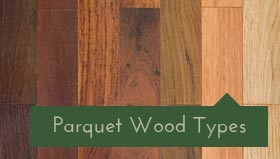
Parquet flooring gives you the chance of an adventure into rare and exotic species.
Below is a montage of a reclaimed parquet block being fitted in a house in the Blackheath area in London. As you will see from the photos, a lot of work goes into laying a reclaimed parquet floor. It certainly requires a lot of faith from the customer! When the blocks arrive, it can be a bit disconcerting, to see a stack of blocks, unsanded and grubby. However there is a process and the results are well worth it.
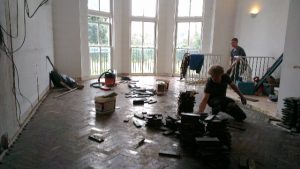
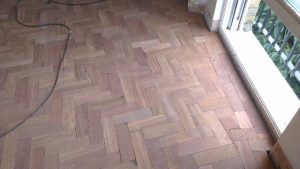
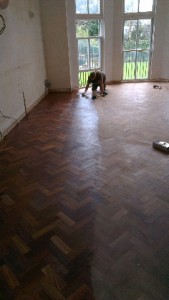
Before:
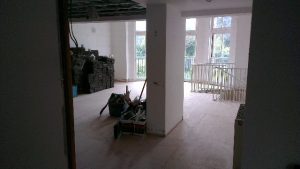
Before laying the floor, the reclaimed material stacked to one side ready for the fitting. It has already been prepped by scraping the sides to get a nice fit. This helps to prevent the herringbone pattern going out of line.
Fitting
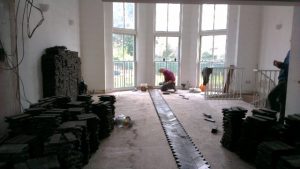
Laying the centre line. This is set by measuring the distance between the walls. Dry lay a row of blocks across and try to make sure they look even when they reach the walls. That way it will look as square as possible with the room. You can work out the nearest herringbone peak to your centre line and use that as your starting point.
Filling in the space, working from the centre out. First to one side and then the other. If you have a border then you need to stop before the wall and use a track-saw the cut the herringbone blocks. You should allow for at least a double bonded row.
Sanding
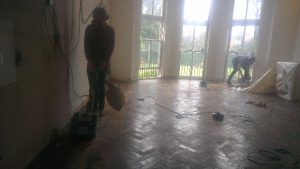
Sanding. Make sure you are masked up and have ear-defenders on because this is dusty and noisy. Sand with a very coarse grit paper 24 if you can get it. Let it do all the hard work.
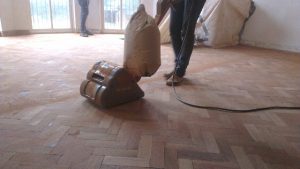
After 1st sanding. More 24 grit paper or go up to 40 grit to get the last of the old material off.

And more! Go up through the grit papers to 80 grit, then 120. Don’t stand still, keep the machine moving and try to go in every direction (think Union flag) to prevent sanding marks.
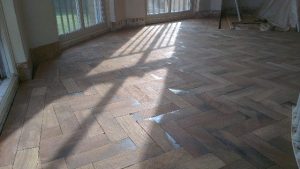
More fine sanding, this time with a 180 grit to get a beautiful smooth surface.
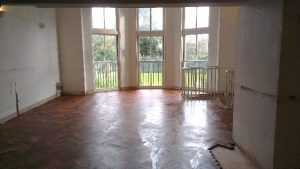
Beautiful clean parquet. After sanding hoover very thoroughly so that your top-coats will be smooth too.
Top-coat on parquet
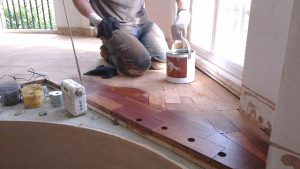
Polishing on the parquet begins. You can use a primer on tropical hardwood or a hardwax oil. If using hardwax oil, go for thin layers rubbed in with a cloth, do not lather the floor with lots because it becomes hard to buff. For the best results with hardwax oil make sure you buff between coats, just like a piece of furniture.
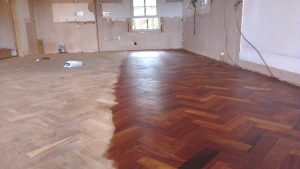
Halfway with the priming coat on the parquet. See how the colour deepens.
First coat of lacquer going on the parquet.
Topcoat of lacquer going onto the parquet floor.
Thanks to one of our fitters for the photos, taken by him as the work went along.
If you want to buy our parquet click here.